To take a backup from FastBack Client to FastBack Server, below tasks should be already completed.
- A repository should be added in FastBack Server where the server stores client data.
- Install FastBack Client on client machine and make sure it is running. Use correct hostname or IP address of FastBack Server while starting Client Configurator.
- Suitable network resources.
TSM Fastback Client Backup Procedure
- Start FastBack Client Configurator on client machine using corrent fastBack Server IP address and hostname.

- Open FastBack Manager on the Server, you should see the client hostname in the list under Storage Pool tab. In the belwo screenhsot WIN-7IMV9HRDTBA is our FastBack Client which shows available drives which can be backed up.
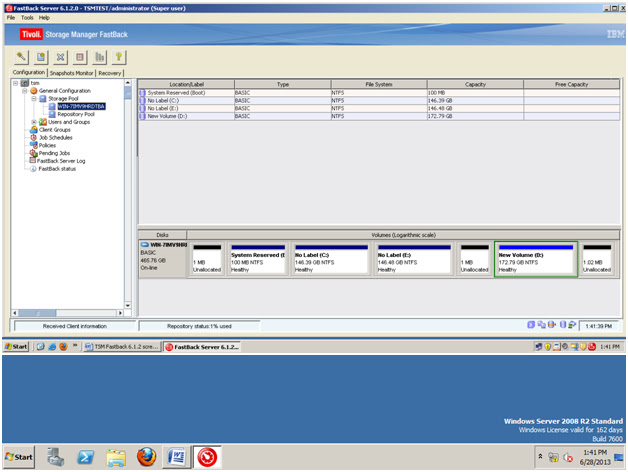
- Select the drive which you to take the backup.
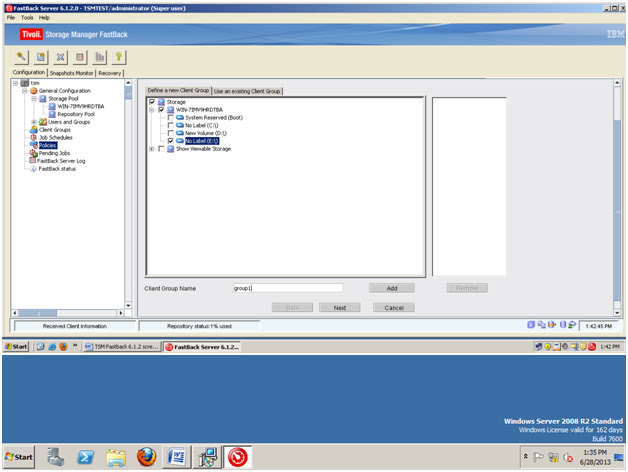
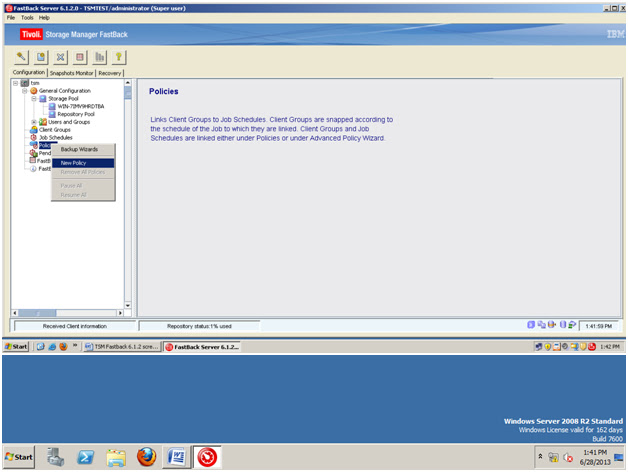
- Now create policy, which include Job Schedule and Client groups. You can define Job Schedule & Client Groups seperately or you can directly define Policy which automatically defines both of them. Here I am using Policy wizard to define both.
- Select the drive to be backed up.

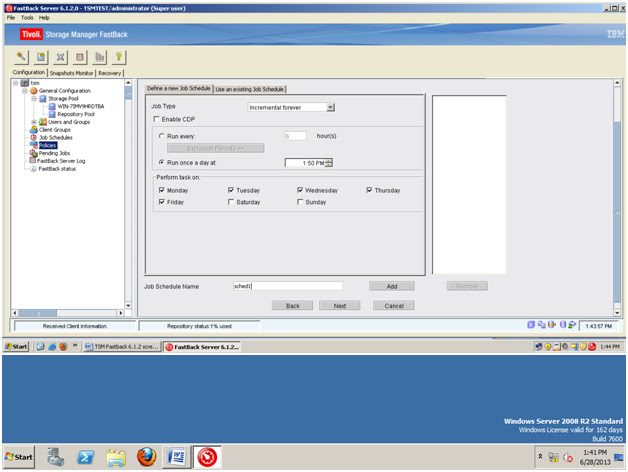
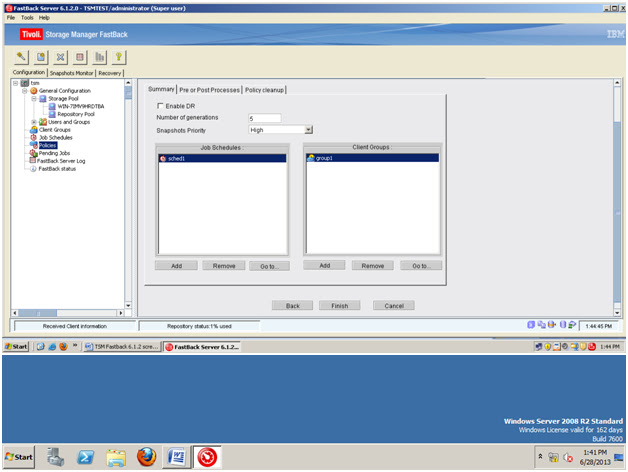
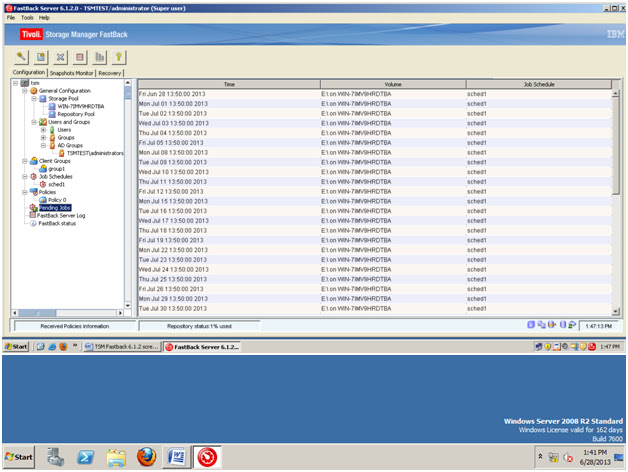
- After defining Client group and Job schedule, click Finish. You can see the pending job details in below screenshot.
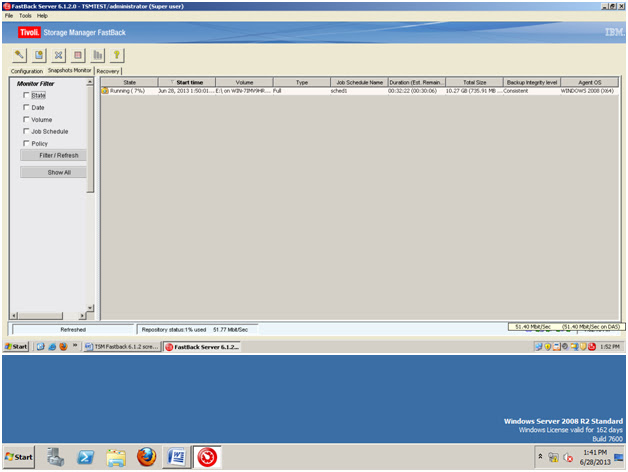
- Here you can see the status of the backup. It shows that backup has been running and sending data at the speed 51.77Mbit/sec on the bottom pane.
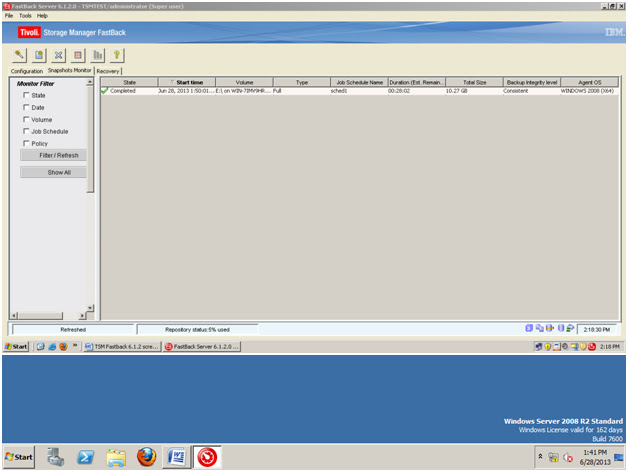
- Here you can see the repository has been filled 5%.


0 Comment to "Taking backup through TSM Fastback Client on Windows "
Post a Comment